3.6 Y-axis endstop
Mounting the Y-axis (mechanical) endstop switch
BOM
Materials
| Material | Quantity | Notes |
|---|---|---|
| M2 10mm screw | 2 | |
| M4 8mm screw | 1 | |
| M4 t-nut | 1 | |
| D2F Microswitch | 1 | D2F with lever |
Printed parts
| Part | Quantity |
|---|---|
| Y Endstop Mount | 1 |
Instructions
-
Solder the Y-axis endstop wires to the Common and Normally Closed (NC) pins of the microswitch. Use heatshrink to insulate the contacts.
Optionally, remove the middle (NO) contact’s pin with flush cutters or sidecutters.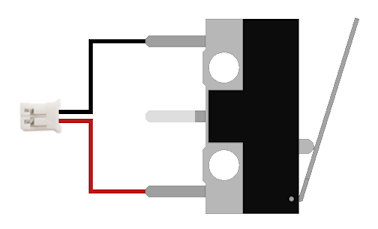
-
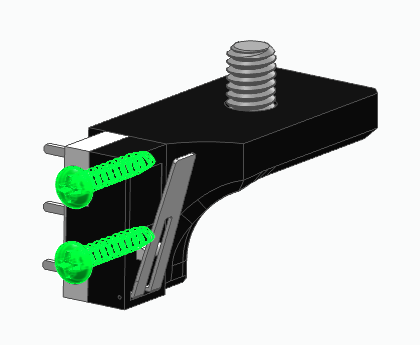
Mount the D2F switch to the Y-axis endstop bracket using 2
M2x10mm screwsas such that:- The bracket’s large mounting tab with the large mounting hole is pointing up and away from you
- The switch’s lever pointing to the right and up.
Or as shown:
-
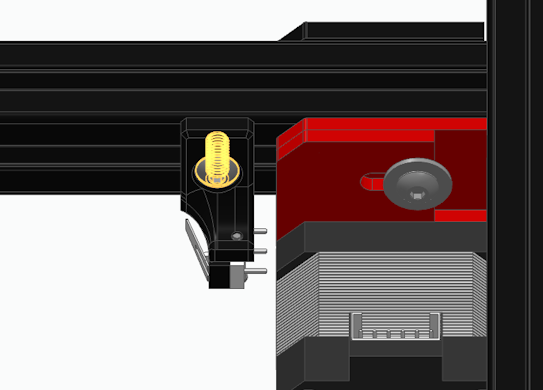
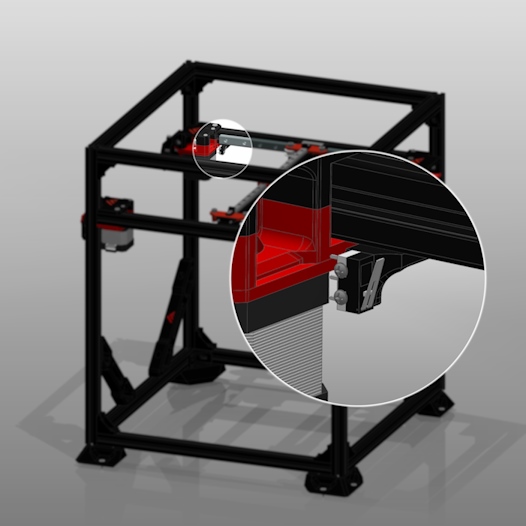
Mount the assembled Y-axis endstop to the rail using 1
M4x8mm screwand 1M4 T-nut.The Y-axis endstop is mounted front-left, immediately behind the left-side motor mount.