Placeholder parts
The Mellow VzBot kits come with placeholder printed parts on the gantry which allow the gantry to be shipped as a complete assembly. These parts need replacing with your own printed parts.
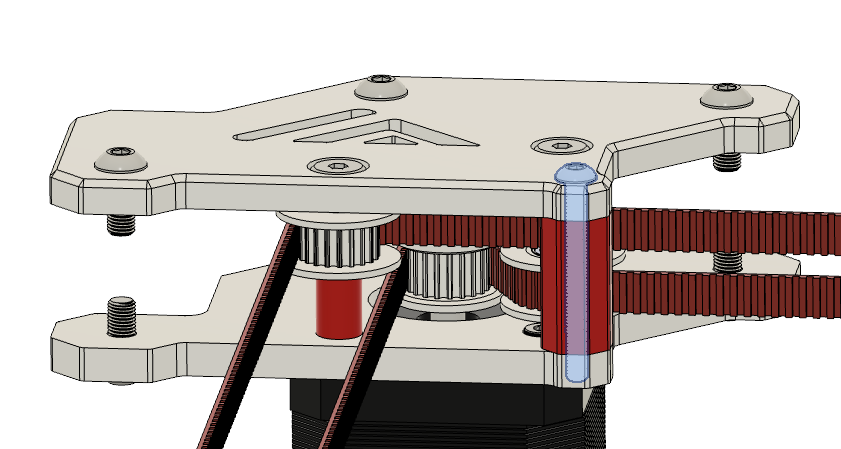
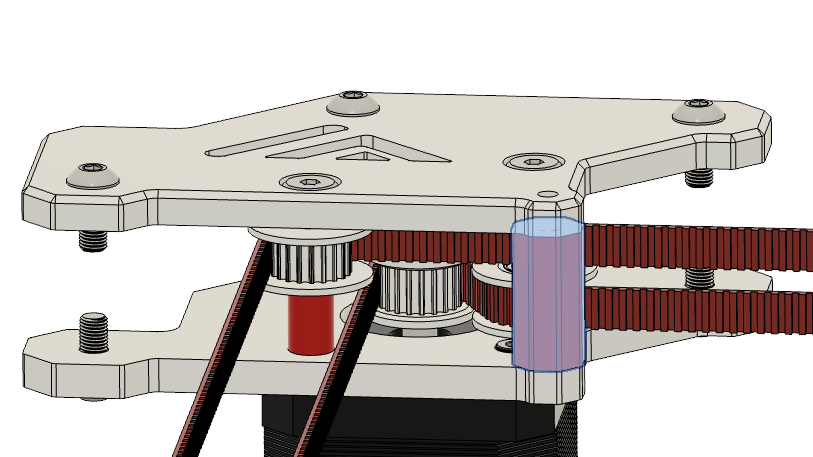
The pre-installed printed gantry parts are made out of PLA plastic, and can be recognized by their red colour.
To learn more about printing your own parts, read our printed parts info.
Why?
While the PLA plastic parts are a good starting point and provide you with a clear reference as to how the gantry is assembled, they are not suitable or intended for use in your final printer. Therefor, it is highly recommended to swap these PLA printed parts for parts printed out of a material that is resistant to high temperatures and overall more suitable for use in the gantry.
The PLA parts may warp or melt completely when used in the (enclosed) printer for even relatively short periods of time.
Replacing the parts
Step1
 |
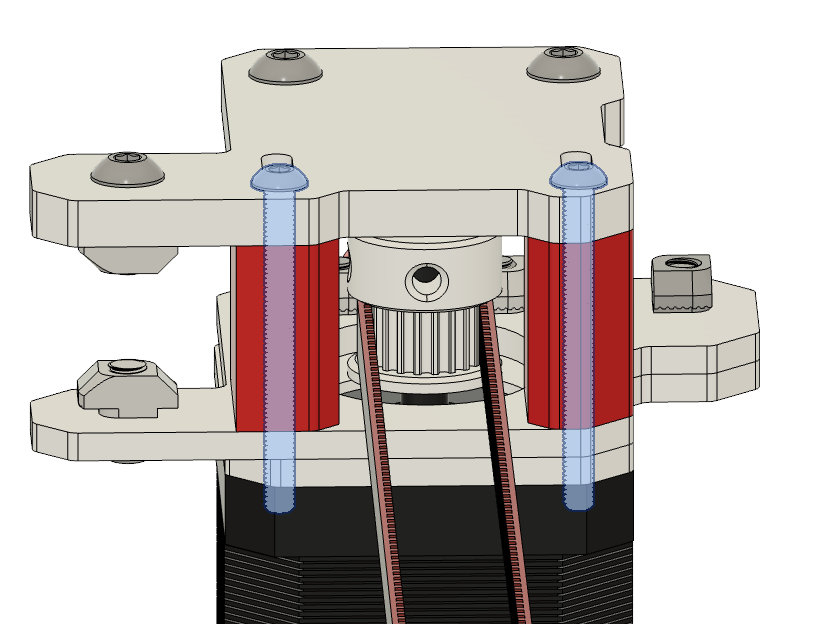 |
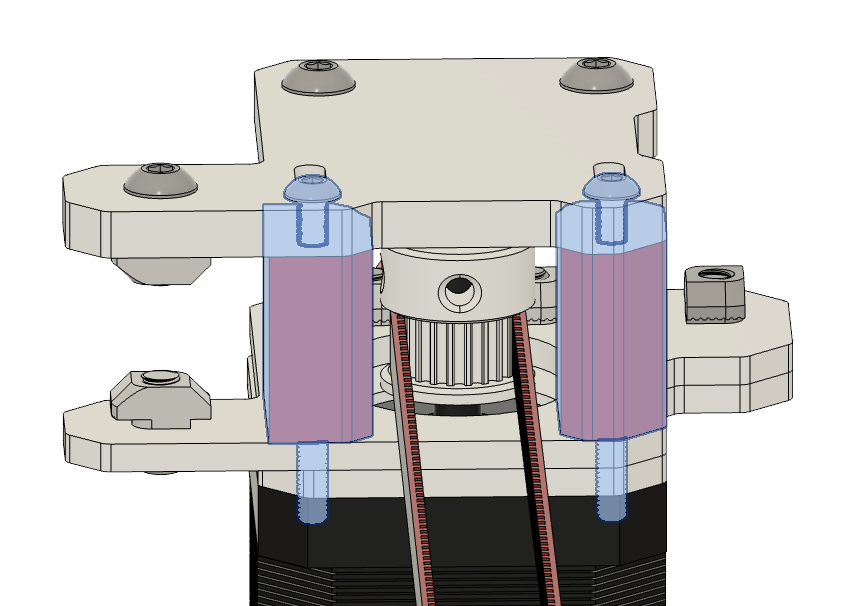
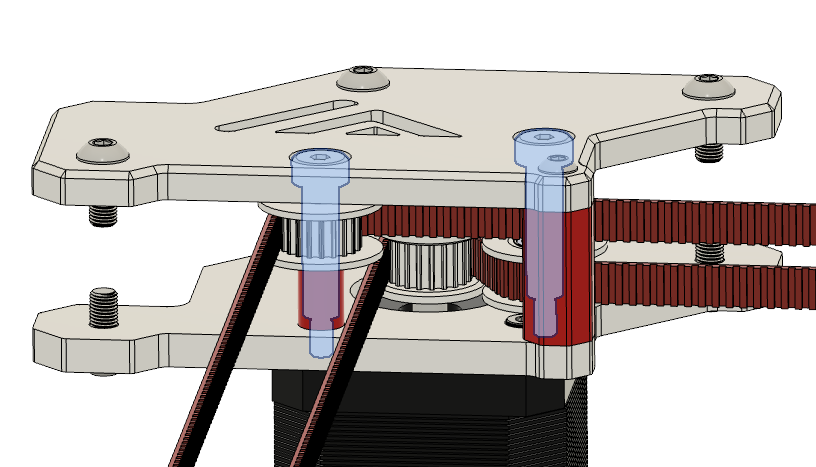
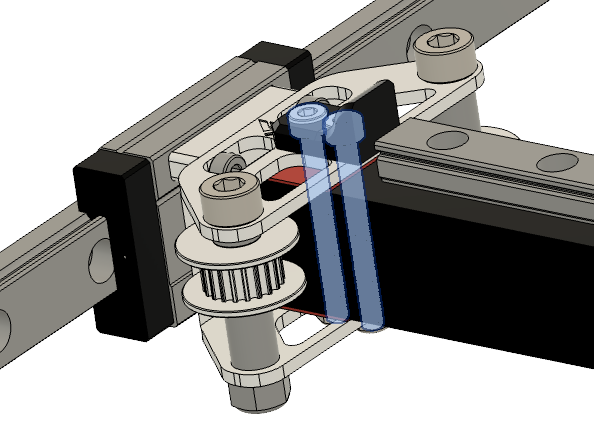
• Remove the two M3 x 35mm screws from the motor mount. |
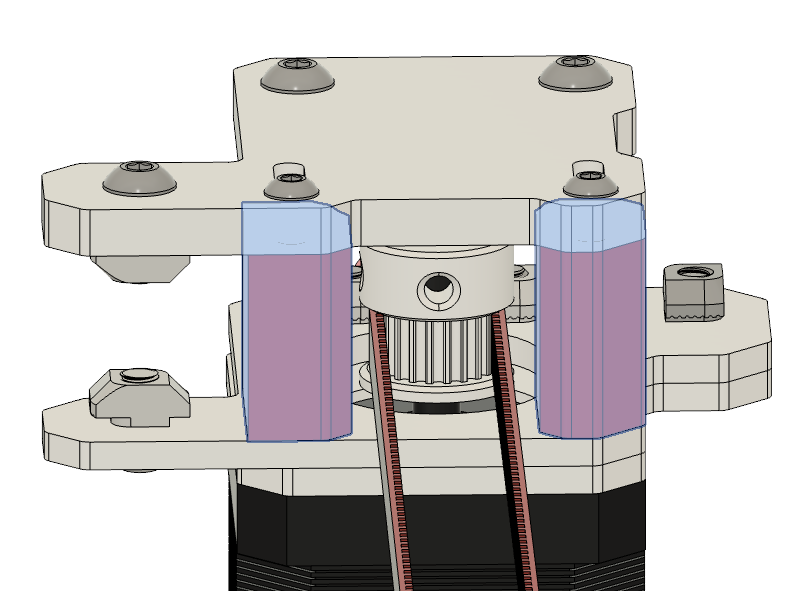 |
• Remove the two highlighted PLA parts with the ABS ones. • Screw back in the two M3 x 35mm screws. |
Do this for both front motor mounts
Step 2
 |
| Part | Location |
|---|---|
| Part 1 Quantity: 2 |
STL |
 |
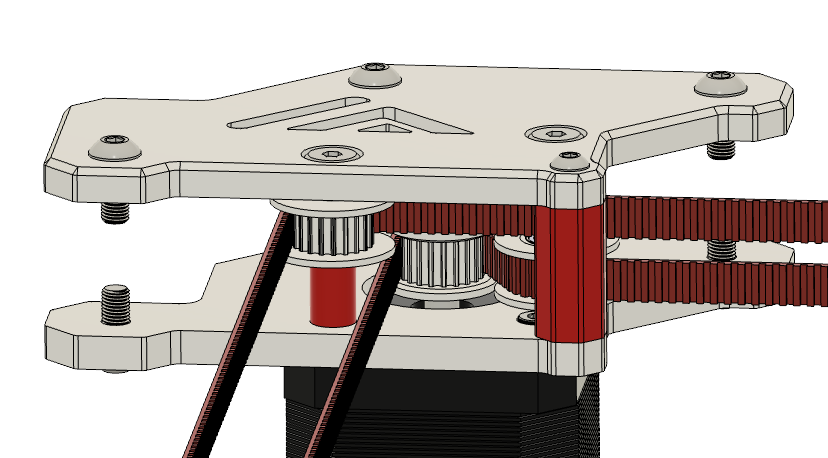
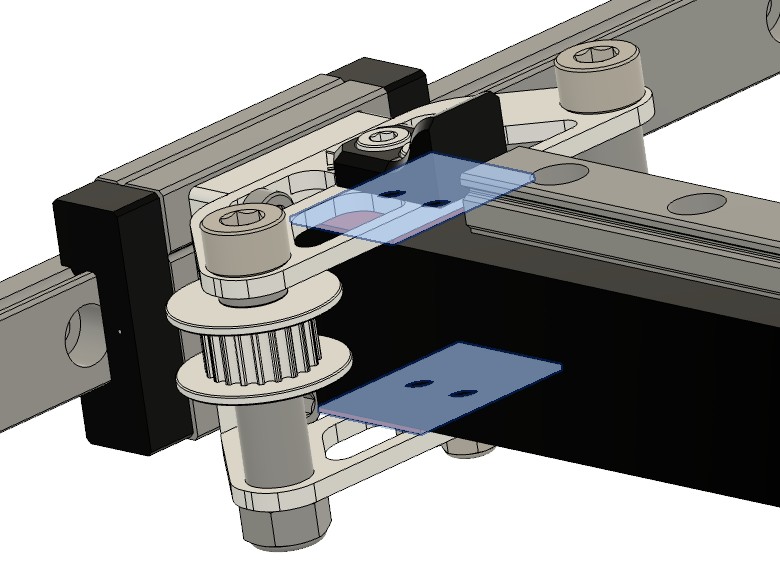
• Remove the two M3 x 30mm screws from the motor mount. |
 |
• Unscrew the two mitsumi shoulder bolts a bit. |
 |
• Remove the spacer and replace it with the ABS one • Screw back in the m3 x 30mm screw • Tighten the mitsumi shoulder bolts again. |
Step 3
 |
| Part | Location |
|---|---|
| Spacer Quantity: 4 |
STL |
 |
• Remove the two M3 screws on each side from the gantry part • Slide the cf tube out of the gantry by tilting it. |
 |
• Messaure the height of your CF tube and substract it from 21 mm. • Divide it then by two and print four spacers in that thickness. • If you want to be super precicise do the same thing for the other side. And print each messaured thickness twice. |
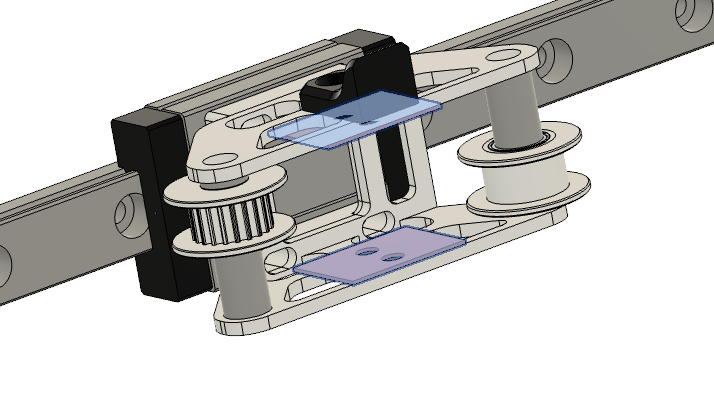 |
• Insert the created spacer’s like shown and assemble the gantry with the m3 screws again. |