9. Top cover and doors panels
Overview
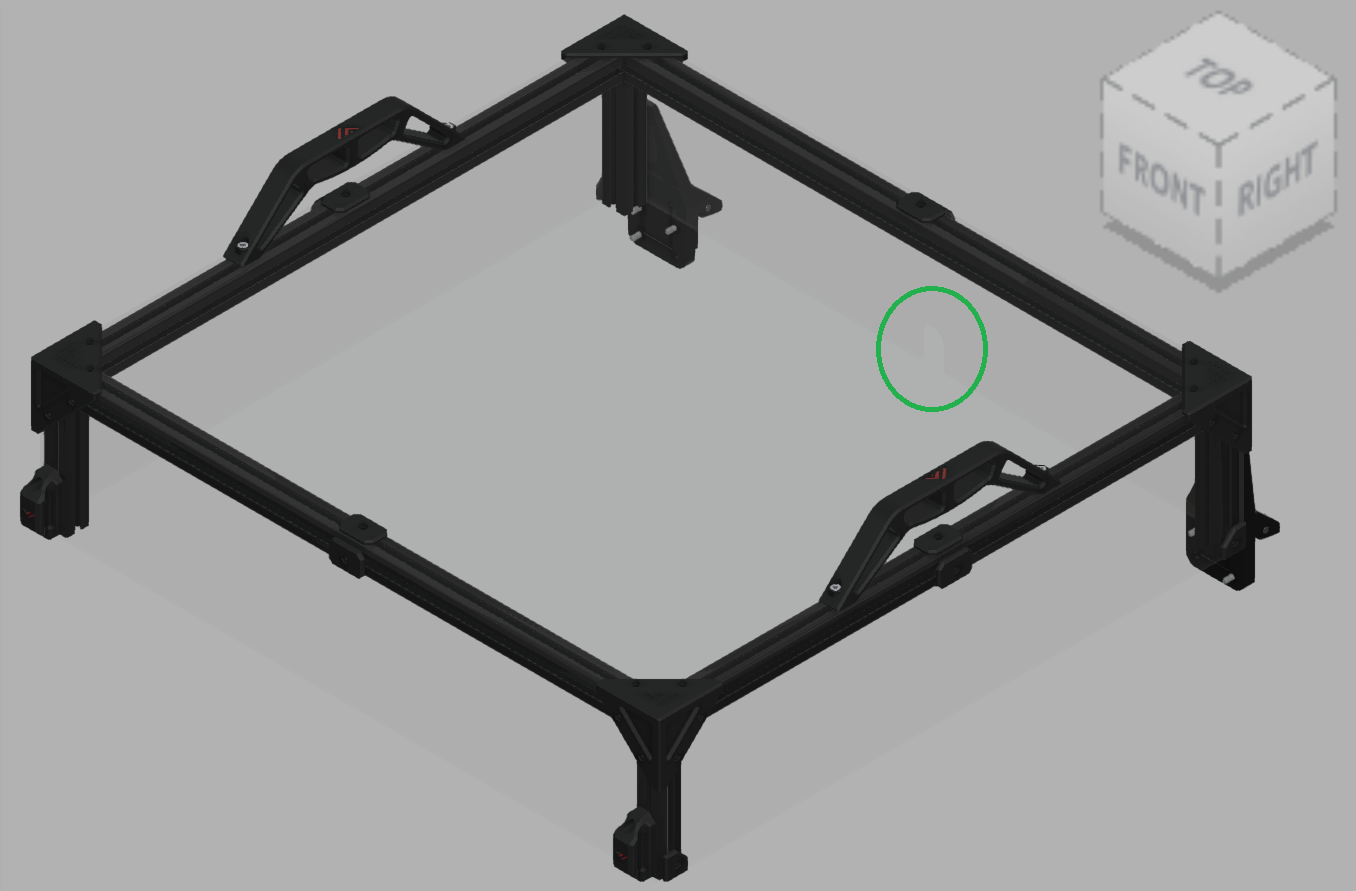
A finished top cover (‘Top Hat’) looks like this.
The green circle marks a cutout in one of the acrylic panels meant for passing the umbilical cord from the hot end to the electronics bay. This will be located at the back of the printer and/or top-hat
Parts
| Part | Quantity | Location | Info |
|---|---|---|---|
| 2020 extrusion (530mm) with two holes | 2 | Layer: 2 |  |
| 2020 extrusion (460mm) | 2 | Layer: 2 |  |
| 2020 extrusion (100mm) | 4 | Layer: 2 |  |
| M5 x 25mm | 4 |
Layer: 3 Box: 6 |
|
| M4 t-nut | 12 | ||
| M4 x 10mm | 8 | ||
| M3 t-nut | 36 | Use roll-in type if available | |
| M3 x 10mm | 36 | ||
| 4mm x 50mm pin | 2 |
STLs
(in order of appearance)
- (Enclosure/Panel Trim) Trim - Top Cover corner x4.stl
- (Enclosure/Panel Trim) Trim - centre x16.stl (x8 are used here)
- (Enclosure/Panel Trim) Trim - Top Cover lower side corner x4.stl
- (Enclosure/Panel Trim) Top cover front handle x2.stl
- (Top Hinges) Left top.stl
- (Top Hinges) Right top.stl
- (Top Hinges) Left middle.stl
- (Top Hinges) Right middle.stl
- (Frame) handle x4.stl (x2 are used here)
Step 1
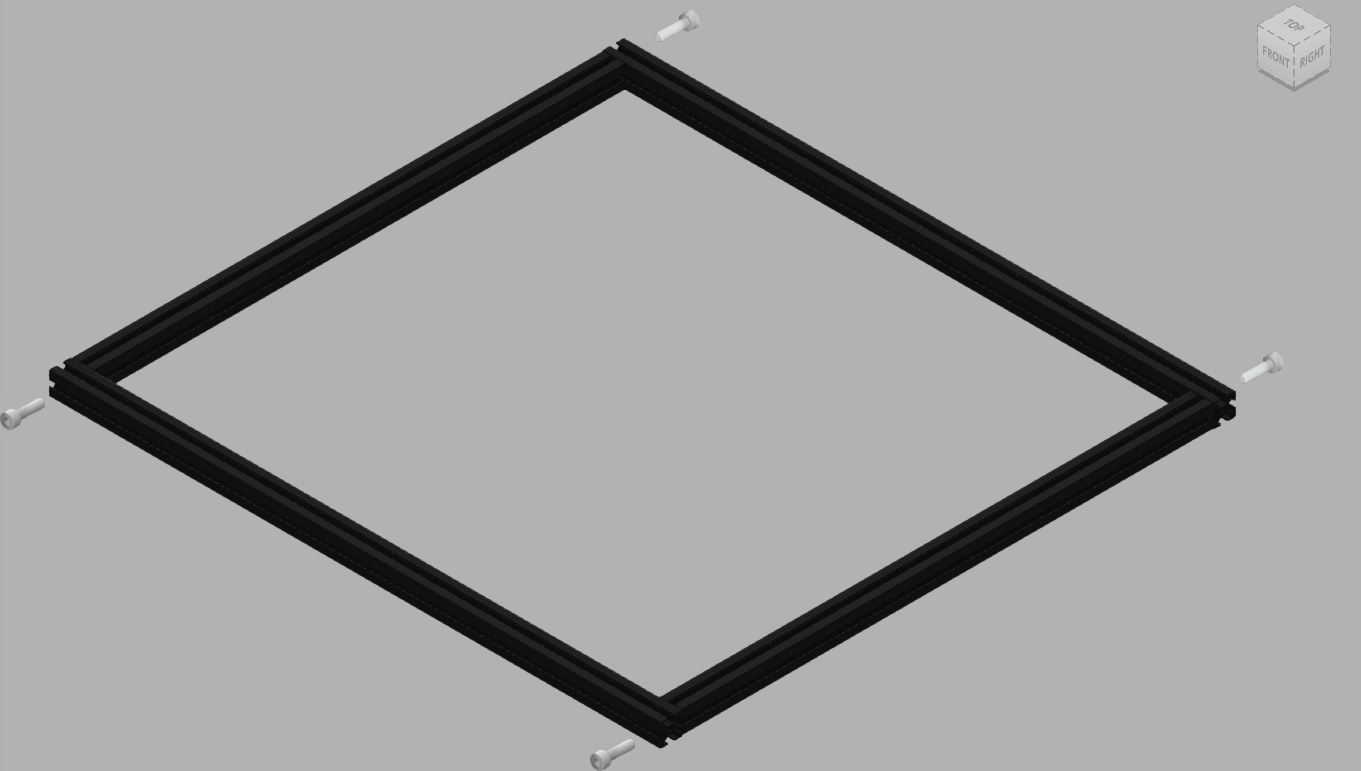 |
• Fasten the top frame extrusions with 4x M5 x 25mm bolts |