3.4 Z-Motor bracket
Parts
| Part | Location | Info |
|---|---|---|
| M3 x 10mm Quantity: 4 |
Layer: 3 Box: VZ330 Box 6 |
|
| M4 x 10mm Quantity: 4 |
Layer: 3 Box: VZ330 Box 6 |
|
| M4 x 12mm Quantity: 4 |
Layer: 3 Box: VZ330 Box 6 |
|
| M4 Washer Quantity: 2 |
Layer: 3 Box: VZ330 Box 6 |
|
| M4 t-nut Quantity: 2 |
Layer: 3 Box: VZ330 Box 6 |
|
| GT2 20 teeth Quantity: 1 |
Layer: 1 | 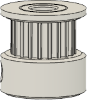 |
| NEMA 17 stepper Quantity: 1 |
Layer: 1 | |
| Motor mount plate Quantity: 1 |
Layer: 1 | 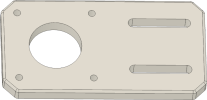 |
| Extrutsion mount plate Quantity: 1 |
Layer: 1 | 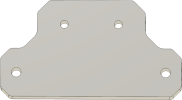 |
Step 1
 |
| Part | Location |
|---|---|
| NEMA 17 motor Quantity: 1 |
Layer: 1 |
| GT2 20 teeth idler Quantity: 1 |
Layer: 1 |
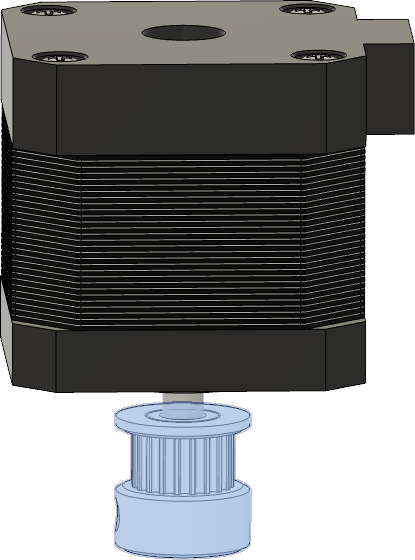 |
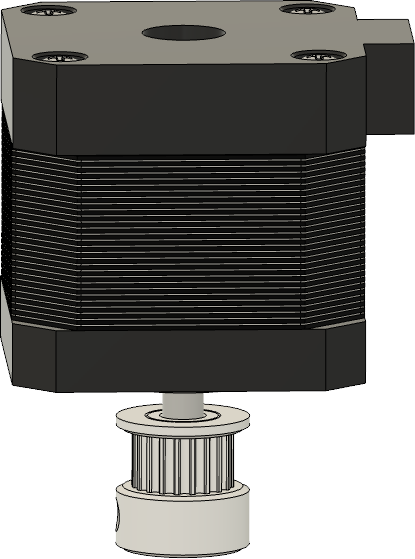
• Attach the GT2 idler to the motor shaft of the nema 17 motor ( we will align it later ) |
Step 2
Required
• Box 6 - M3 x 10mm
 |
| Part | Location |
|---|---|
| NEMA 17 motor Quantity: 1 |
Layer: 1 |
| Motor mount plate Quantity: 1 |
Layer: 1 |
| M3 x 10mm Quantity: 4 |
Layer: 3 Box: VZ330 Box 6 Bag: M3 Bagnumber: 16/16 |
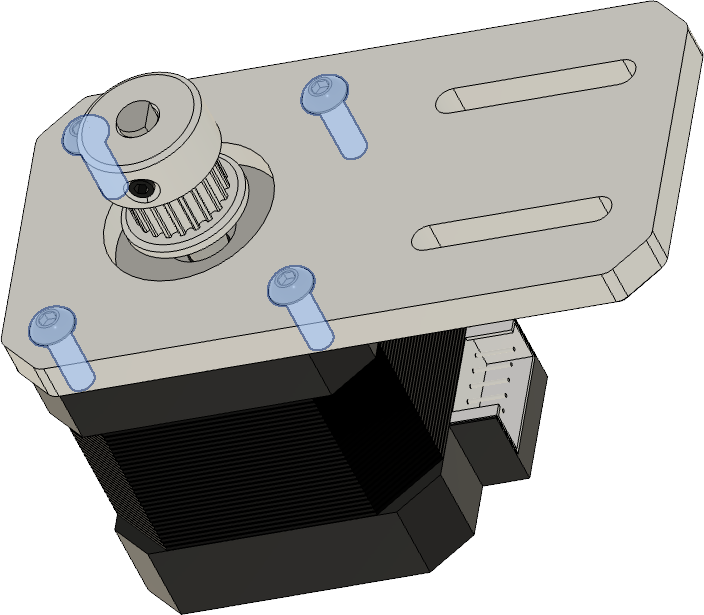 |
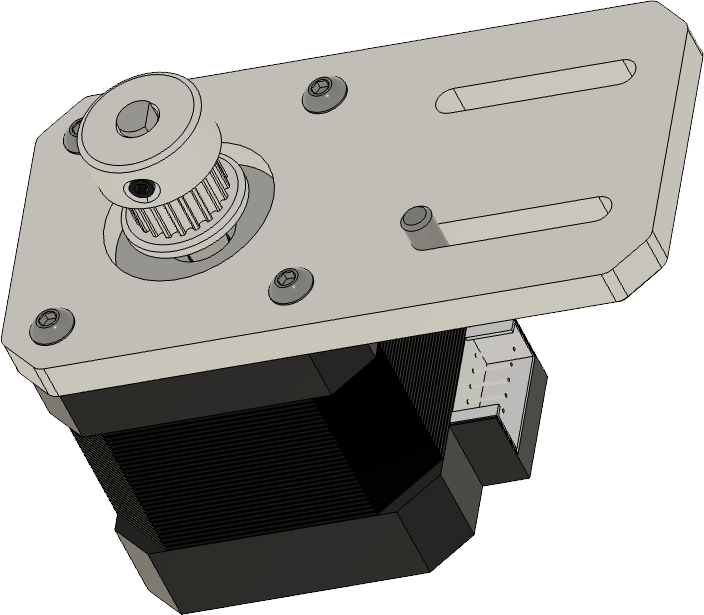
• Attach the NEMA 17 motor to the motor mount plate with the four M3 x 10mm screws. The chamfered side of the plate goes to the motor. • Take care that the motor cable points to the back ( the side with the slides in the plate). |
Step 3
Required
• Box 6 - M4 x 10mm
• Box 6 - M4 t-nut
 |
| Part | Location |
|---|---|
| Extrutsion mount plate Quantity: 1 |
Layer: 1 |
| M4 x 10mm Quantity: 2 |
Layer: 3 Box: VZ330 Box 6 Bag: M4 Bagnumber: 14/16 |
| M4 t-nut Quantity: 2 |
Layer: 3 Box: VZ330 Box 6 Bag: M4 Bagnumber: 2/16 |
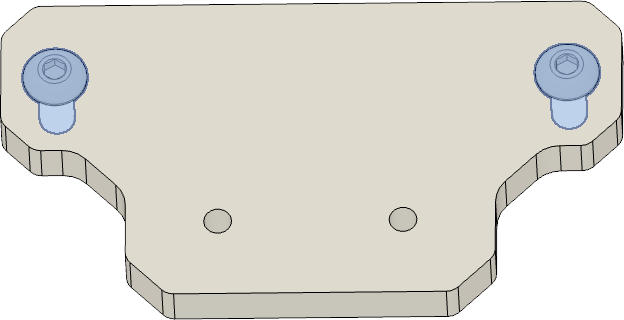 |
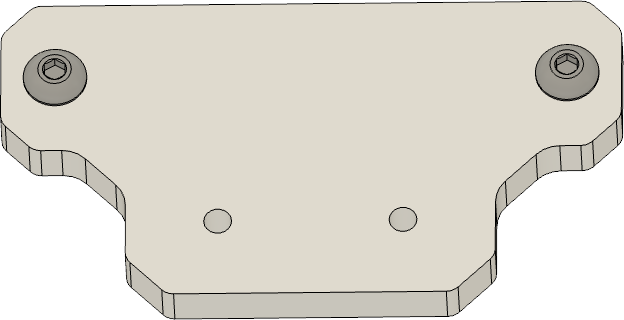
• Attach the M4 x 10 mm screw and the M4 t-nut to the plate |
Step 4
 |
| Part | Location |
|---|---|
| Extrusion mount plate Quantity: 1 |
Layer: 1 |
 |
• Attach the extrusion mount plate to the frame ( take care it’s in the middle of the back extrusion ) |
Step 5
Required
• Box 6 - M4 x 12mm
• Box 6 - M4 Washers
 |
| Part | Location |
|---|---|
| Assembled motor mount Quantity: 1 |
Part from step 2 |
| M4 x 12mm Quantity: 2 |
Layer: 3 Box: VZ330 Box 6 Bag: M4 Bagnumber: 14/16 |
| M4 Washers Quantity: 2 |
Layer: 3 Box: VZ330 Box 6 |
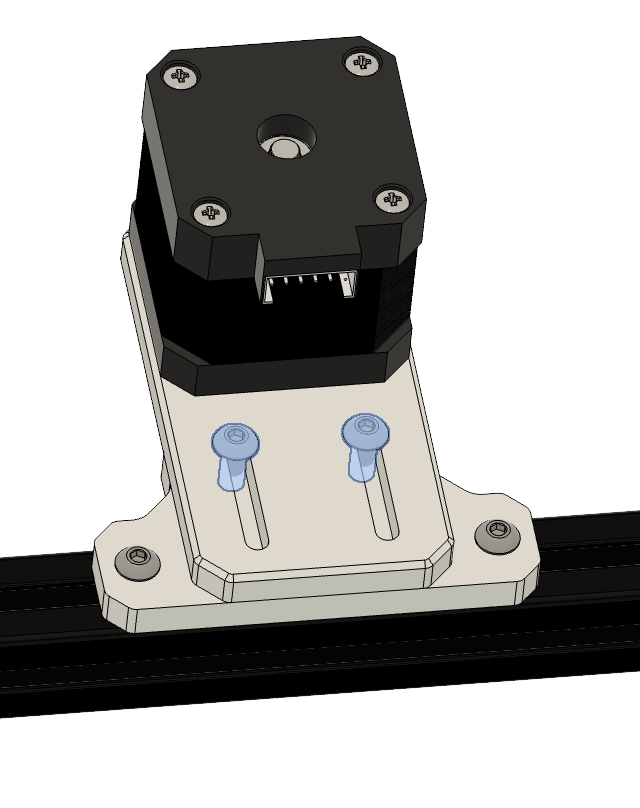 |
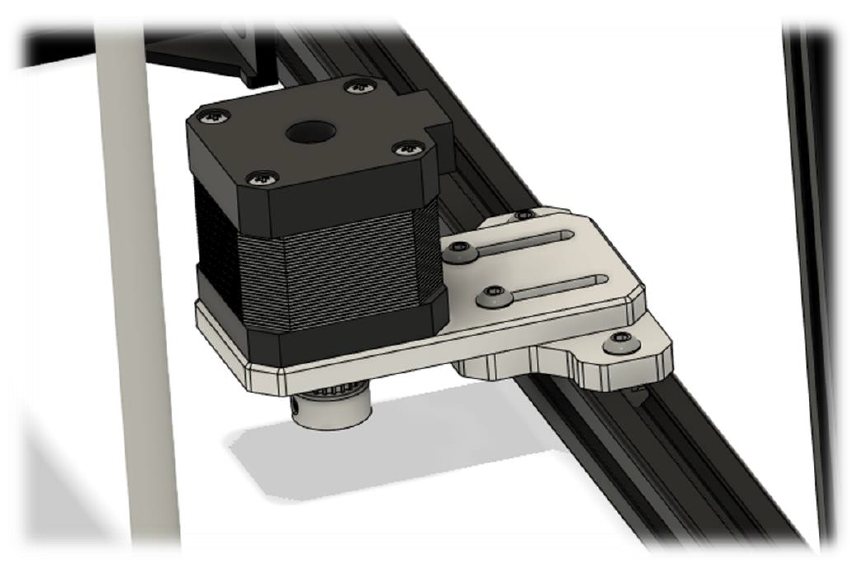
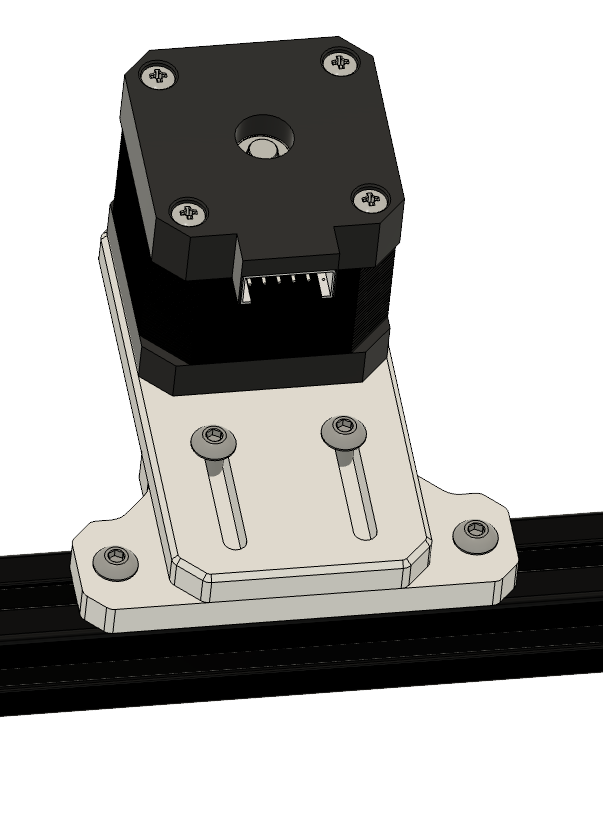
• Put the assembled mount on the extrusion plate and screw in the M4 x 12mm screws slightly |
Step 6
- Put on the z-belt and tighten the belt by pulling the motor back and fixate it with the slightly screwed in M4 x 12mm screws.
- Loose the GT2 grub screws and align the belt that it is horizontal and tighten the grub screws on the flat spots of the motor after.